The Grain Runs One Way and So Must the Knife
Spoon Carving 🎮 Play: With the Grain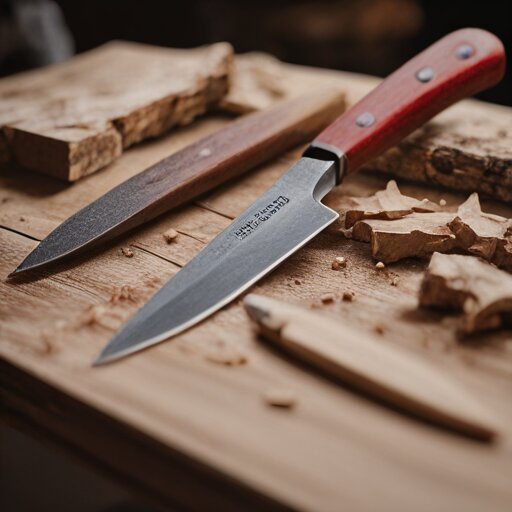
Three days ago I spent forty minutes adjusting a kumiko jig to cut 45-degree half-laps within 0.1mm tolerance. This afternoon I split a birch log with a hatchet and started hacking at it with a knife. The cognitive whiplash is something.
But this isn’t an article about contrast. It’s about grain.
Wood is anisotropic. That’s the word that keeps coming up in spoon carving resources, and it means the material behaves differently depending on direction. Grain isn’t decoration — it’s structure. The long fibres that run parallel to the trunk are strong in tension; cut across them and the wood separates easily. Cut along them and your knife glides. Cut against their slight upward angle and they tear out in chunks, leaving a rough mess.
Reading grain is the foundational skill. Not knife technique, not tool sharpening, not even choosing the right wood — those all come second. If you can’t read grain, every cut is a gamble.
How to Read Grain Direction
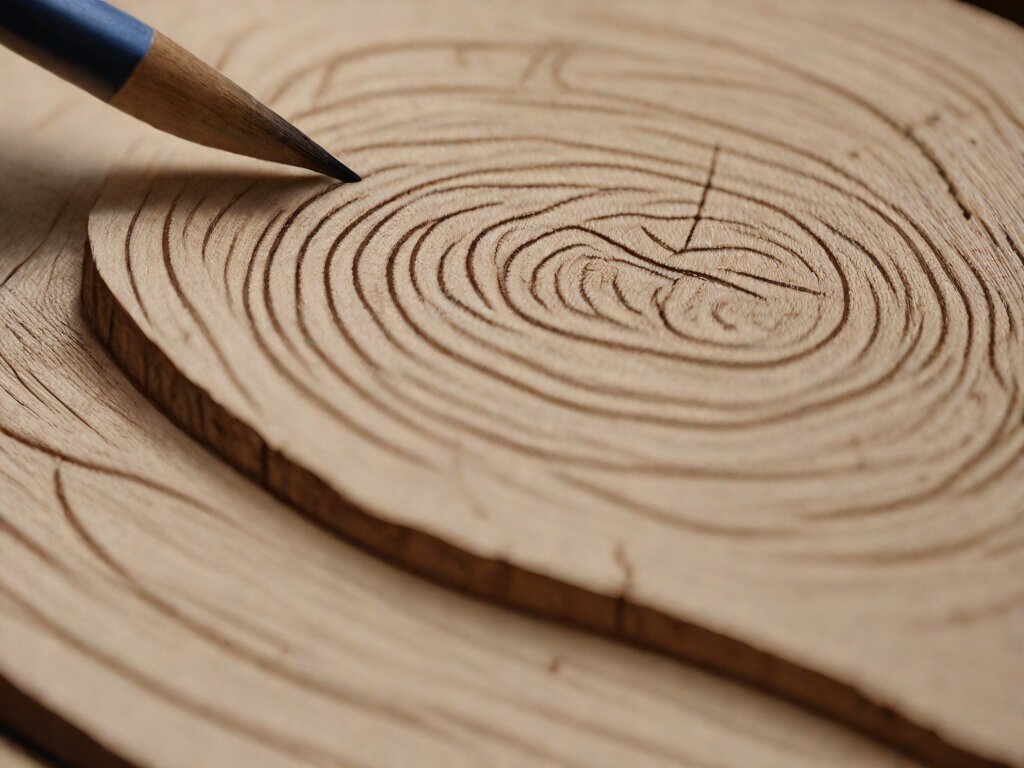
Look at the end of a branch or log section. You’ll see growth rings radiating from the centre. Now look at the side. The fibres run roughly parallel to the bark, but not exactly — they spiral slightly upward toward the growing tip. This angle varies by species and even by individual tree.
When you carve, you want to cut with this spiral. Imagine you’re petting a cat from head to tail. Smooth. Now imagine going the other direction — you’re lifting the fur, pushing against the lay of it. That’s what happens when you carve against the grain: fibres catch, lift, and tear.
The practical test: make a light slicing cut along the wood surface. If the knife glides and produces thin shavings that curl, you’re going with the grain. If the knife dives into the wood and chunks tear away, reverse your direction.
Orienting the Spoon
Here’s where it matters for spoon design: the neck — that thin section between bowl and handle — is the weakest point. It must run along the grain, never across it. A cross-grain neck will snap the first time someone stirs porridge.
Standard orientation: the spoon lies flat within a plank split from the log, with the handle pointing toward what was the base of the tree. The bowl faces up. Both sides of the neck have grain running through them lengthwise. The bowl’s bottom, which you hollow out, gets carved across the grain (unavoidable), but that’s okay because the bowl has enough mass to handle it.
Some carvers rotate the blank so the bowl tilts slightly forward — this means carving more against the grain on one face of the handle, but it gives an ergonomic eating angle. Trade-offs everywhere.
Why Green Wood
Fresh-cut wood contains 50-80% moisture. This water acts as a lubricant between fibres, making them slide past each other rather than tearing. Dried wood — the kind from a lumber yard — has less than 20% moisture. The fibres are locked in place. Every cut requires more force, and the risk of tearout increases.
There’s a time window. Once you split the log, the clock starts. Depending on temperature and humidity, you have hours to days before the surface dries past the point of easy carving. Carvers either work fast, store blanks submerged in water, or seal the end grain with wax to slow moisture loss.
The birch behind my garage has been down since last fall — not ideal. But I split it fresh this morning, getting into the wet interior wood. The outer inch was already too hard to carve comfortably. The inner core, still damp, yielded to the knife like cold butter.
The Sequence That Matters
Beginners (me, three hours ago) want to hollow the bowl first. It’s the exciting part, the part that makes it look like a spoon. This is wrong.
Correct order:
- Split the log to get a blank roughly twice the size of the final spoon
- Hew the profile (side view) with a hatchet — handle shape, bowl depth
- Hew the outline (top view) — basic spoon silhouette
- Refine the handle with the carving knife
- Shape the back of the bowl (the convex underside)
- Then hollow the bowl with the hook knife
Why this order? If you hollow first and then make a mistake on the handle, you’ve wasted all that bowl work. Also, an unhollowed blank gives you something solid to grip while shaping the handle. The bowl comes last because by then you’ve committed — there’s nothing left to ruin except the bowl itself.
The hook knife cuts on the pull stroke. Coming from normal knife use, this feels backwards. But a curved blade pivoting in a curved bowl needs that motion — pushing would dig the tip in and gouge. Pull strokes let you control depth by varying wrist rotation. The Swedes call it krokkniv; the motion is more like scooping ice cream than slicing bread.
My first attempt is drying on the bench. The bowl is uneven, the neck too thick, the handle vaguely octagonal where it should be oval. But the grain runs true through the neck, and when I run my thumb along the bowl interior, no fibres catch.
That’s something.